
TL;DR
When a form or portal asks for one PDF, you can turn several iPhone photos into a single file without installing another app.
Season: All year
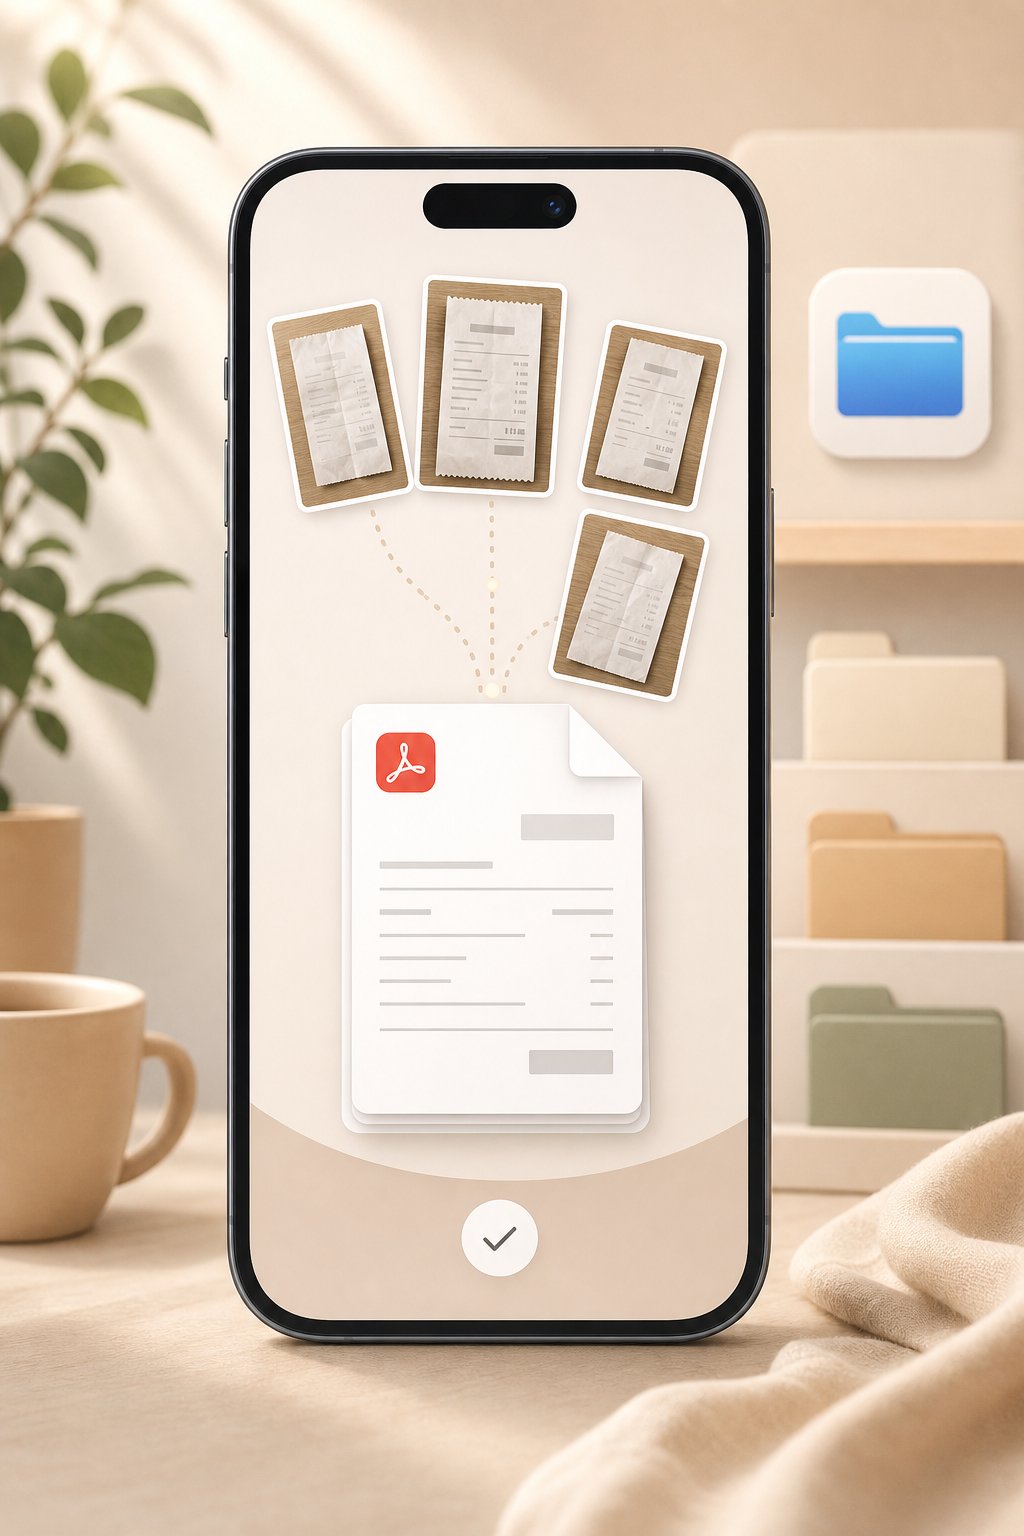 ## When this saves time You photographed a receipt, a signed form, or a few pages of homework, but the upload page wants one PDF instead of separate images. You do not need to move everything to a computer or install a scanner app. The iPhone can do the job with Photos and Files. It is perfect for expense claims, insurance documents, school forms, support tickets, or any situation where the document already exists as photos. ## Step by step Open Photos, select the images you want, tap Share, and choose Save to Files. Put them in a new folder or somewhere easy to find. Then open the Files app, go to that folder, and use the three-dot menu to select multiple files. Select the photos in the order you want them to appear. Open the three-dot menu again and use the PDF action if it is available. Depending on your iOS version, it may be called Create PDF or appear as a Quick Action. ## Keep the page order under control Files will use the order you give it, so check the sequence before creating the PDF. If the order matters, rename the images first with 01, 02, 03, or sort the folder clearly before combining them. This tiny step prevents the classic problem of uploading a file and noticing too late that page two and page three are swapped. Open the finished PDF once before sending it anywhere important. ## When scanning is the better choice Photo-to-PDF is great for receipts, quick proof, simple records, and casual admin work. For official paperwork, contracts, or pages photographed in poor light, the scanner inside the Notes app is usually cleaner. It detects edges, straightens the page, and improves contrast. Use Files when the photos already exist and speed matters; use Notes when you still need to capture the document properly.