 Checked
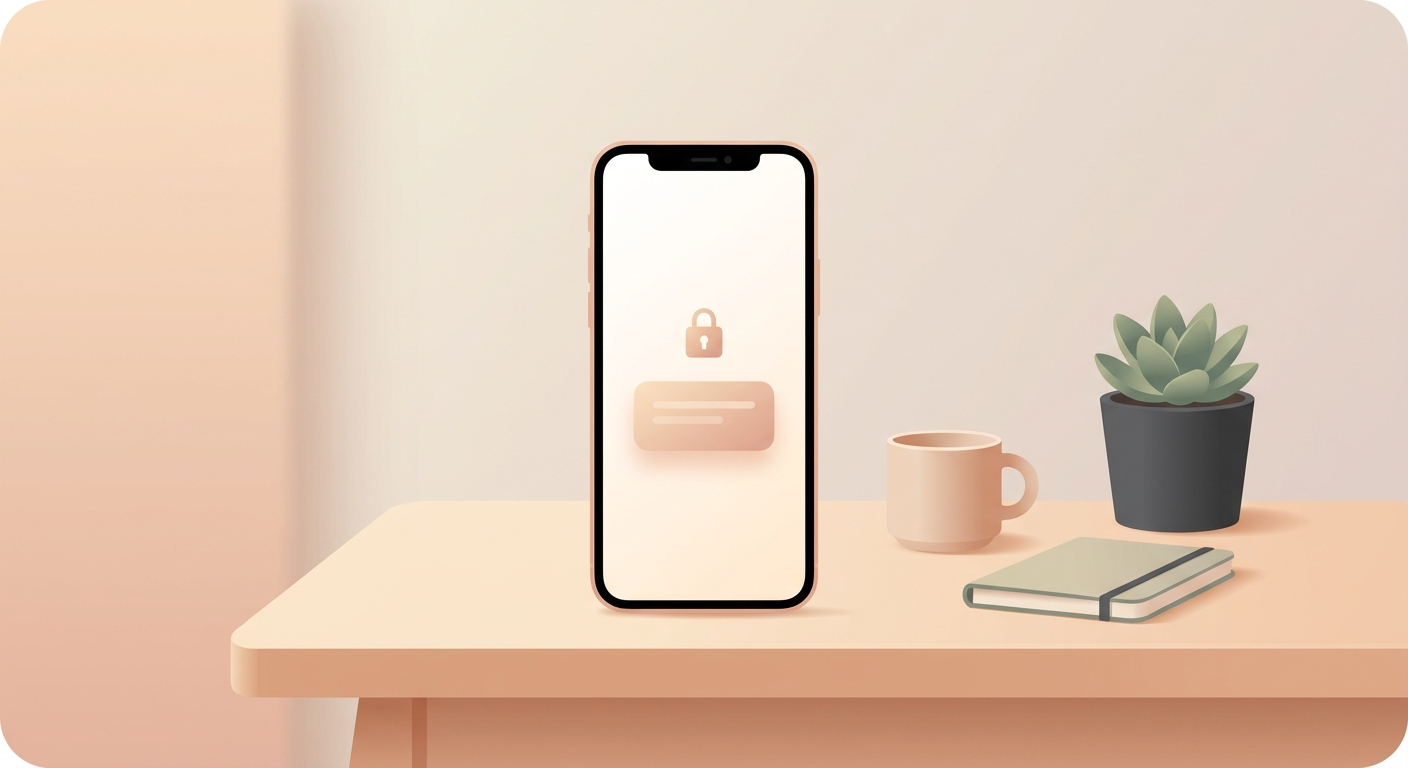
How to lock a note
Open the note you want to protect in the Notes app. Tap the More button in the top right and choose Lock. The first time, Apple asks how you want to unlock locked notes: with your iPhone passcode or with a separate password. Turn on Face ID so you do not have to type every time. After that, a quick glance is usually enough to open the note again.
Why this is useful
This is great for things that should stay private but do not need a full password manager: Wi‑Fi details, small login hints, scanned documents, gift ideas, or personal checklists. The big advantage is speed. The note stays inside your normal Notes app, is easy to find, and still has an extra layer of protection. For everyday use, this is one of the fastest privacy upgrades you can make without another app, another subscription, or complicated setup.
Good to know
One important limitation: the title of a locked note still stays visible in your notes list. So put sensitive details in the body of the note, not in the title. Also, shared notes and notes from some third-party mail accounts cannot be locked. If you use your device passcode for locked notes, iCloud Keychain must be enabled. And yes, for real passwords a proper password manager is still the better tool. But for many private notes, this hits the sweet spot between convenience and protection.
Sources
Selected references used to verify or support this tip.
- Apple Support: Lock your notes on iPhone Apple Support · official_docs