 Checked
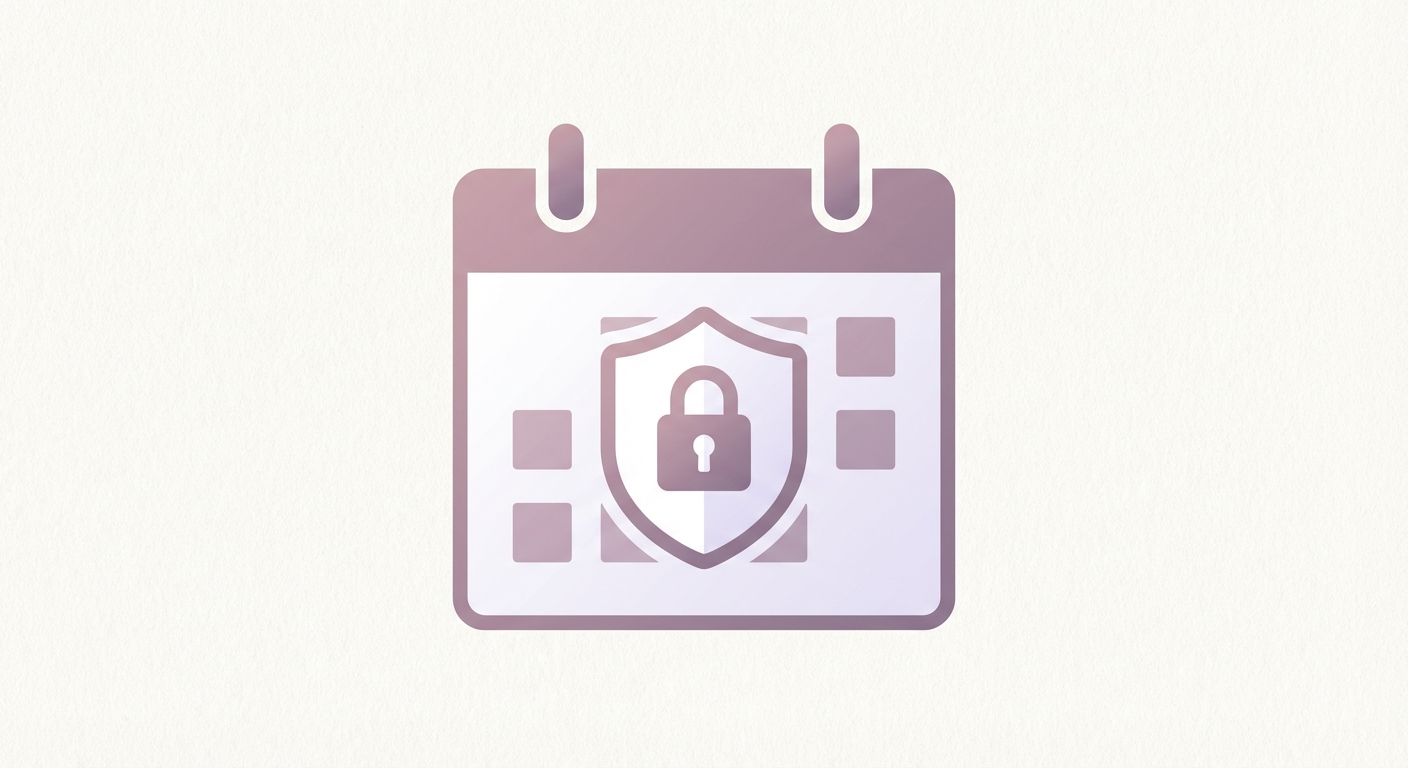
How to set it up
Step 1: Create a Proton account
Go to proton.me and create a free account. You automatically get access to:
- Proton Mail (encrypted email)
- Proton Calendar (encrypted calendar)
- Proton Drive (encrypted cloud, 1 GB free)
No credit card required.
Step 2: Open Proton Calendar
Open calendar.proton.me or use the app:
- iOS: App Store
- Android: Play Store
Step 3: Create your first event
- Click + New event
- Enter title, date, time
- Optional: description, reminders, repeats
- Important: All data is encrypted locally before being sent to Proton's servers
Step 4: Import your calendar (optional)
You can import your Google Calendar events:
- Open Google Calendar → Settings → Export (as .ics file)
- In Proton Calendar: Settings → Import → upload .ics file
- Your old events will be encrypted and imported
Step 5: Sync across devices
Proton Calendar syncs automatically via:
- Web browser
- iOS app
- Android app
All changes are encrypted in real-time.
Step 6: Share calendars (optional)
You can share calendars with other Proton users:
- Select calendar → Settings → Share
- Enter recipient's email address
- Choose permissions (view only / edit)
- Shared events remain end-to-end encrypted
Why this helps
1. Privacy: Google reads your appointments for personalized ads. Proton cannot read your events (end-to-end encryption).
2. No ads: Proton shows no ads based on your appointments.
3. Swiss privacy: Proton is based in Switzerland (strict privacy laws).
4. Open source: Code is publicly auditable – no hidden trackers.
5. Free: Basic version is enough for most users (up to 3 calendars, unlimited events).
Notes
- Free version: 3 calendars, unlimited events, 1 GB Drive
- Paid version: More calendars, more Drive storage, VPN included (from €3.99/month)
- Import: Google Calendar can be easily imported
- Export: .ics export available (standard format)
- Sync: Only works with Proton apps (not directly with Apple Calendar/Google Calendar)
- Family: Share calendars only with other Proton users
Sources
Selected references used to verify or support this tip.
- Proton Calendar: Encrypted calendar Proton · manufacturer